Day 0 with Kivy Pi
Starting Fresh
After years of neglect, it is time to revive this website. Instead of making promises about the future, let’s jump right in with some Raspberry Pi!
I’ve been using Pi since the version 1 days and still can’t believe how capable the hardware is. With such an awesome community of developers and makers, just about anything you think of can be done with a Pi. I have the official 7" touchscreen integrated into a Cana case which I find extremely convenient. After having blown up my last board with a stray screw falling directly between power and (apparently) critical IO pins. Having a case protects the board from me. 💥
I was very excited to learn that Ubuntu 20.04 will include Pi support. Don’t get me wrong, I enjoy Raspbian and all the other images but playing with new distros is always fun. There is an excellent image provided by Exton that has everything you need for a quick and easy setup. My goal for this project is to get Kivy up and running with my touchscreen. Time to burn the image!
On first boot, the system is responsive and my 7" touchscreen is working right out of the box. Networking is functional and all I have to do is resize the file system and setup my SSH keys. After a quick reboot, we’re ready to rock.
For the uninitiated, Kivy is a cross-platform Python-based GUI framework that supports multi-touch apps. Having experience mixed results with PyQt on my touchscreen, I thought Kivy would be an interesting experiment at the very least. Reviewing the installation procedure quickly revealed that this would not be a simple pip or apt installation process.
The first problem is that Kivy does not support Python 3.8 which is what our distro is shipping with. This appears to be an issue with Cython related to PEP-570. The next best version is Python 3.7 which, to my knowledge, does not have a functional apt or snap source. Building from source should be easy enough.
Let’s do a quick update and grab the tools needed to build Python.
sudo apt-get update
sudo apt-get install build-essential tk-dev libncurses5-dev  \
  libncursesw5-dev libreadline6-dev libdb5.3-dev libgdbm-dev \
  libsqlite3-dev libssl-dev libbz2-dev libexpat1-dev         \
  liblzma-dev zlib1g-dev libffi-dev
At the time of this writing, 3.7.7 was the latest 3.7 version available. Replace 3.7.x as needed.
wget -P ~/ https://www.python.org/ftp/python/3.7.x/Python-3.7.x.tgz
tar zxf Python-3.7.x.tgz
But wait! My board only has 1GB of RAM and I’ve been bitten before with OOM errors hours into a build. To avoid that, let’s make a quick swapfile to alleviate some of the pressure. It is important to note that if you’re using an SD card, a swapfile will rapidly degrade your card so use this feature sparingly. This will create a 1.2 GB swap which should be more than enough to compile Python.
sudo dphys-swapfile setup
sudo dphys-swapfile swapon
Check that the swapfile is available
ct@lab:~$ free -h
              total        used        free      shared  buff/cache   available
Mem:          926Mi       200Mi       472Mi       5.0Mi       253Mi       667Mi
Swap:         1.2Gi          0B       1.2Gi
Now we can punch in a few commands to let Python build itself. On the first invocation of make the final message suggested enabling an optimized build. Loving all this fast, I obliged.
cd ~/Python Python-3.7.x
./configure --enable-optmizations
make -j 4
sudo make altinstall
I went and watched Captain America with my wife. When I came back, it was nearly done so I played one more turn of Civ.
A Brave New Python
The next day I was pleasantly surprised to see that the build had completed sometime in the night. Time to move on!
First, we need to make Python3.7 the new system default so we don’t accidentally install Kivy to the 3.8 site package. Assuming that /usr/bin/python is just a symbolic link to an explicit version of Python, let’s update that
sudo ln -sf /usr/bin/python3.7 /usr/bin/pythonA quick check python --version should reveal Python 3.7.x. Great, now we can proceed with the Kivy build.
sudo apt install libsdl2-dev libsdl2-image-dev                 \
  libsdl2-mixer-dev libsdl2-ttf-dev pkg-config libgl1-mesa-dev \
  libgles2-mesa-dev python-setuptools libgstreamer1.0-dev      \
  gstreamer1.0-plugins-{bad,base,good,ugly}                    \
  gstreamer1.0-{tools,alsa} python-dev libmtdev-dev xclip xsel \
  libjpeg-dev libpango-1.0-0
What’s funny is that for years, I never knew you could use {sub,package,name} tags in apt. So many wasted keystrokes. We’re almost done, just a few more things to take care of. Make sure your swapfile is still on if you rebooted.
I was unable to get Cython + Kivy working without global installation. You can try the --user install flag but I couldn’t get things to work out. If you go the user route, be sure to add ~/.local/bin to your path.
sudo pip install Cython
python -m pip install --upgrade --user pip setuptools
git clone https://github.com/kivy/kivy ~/kivy
cd ~/kivy
python -m pip install --user .
This took even longer than the Python compilation so the wife and I watched Captain Marvel and played another round of Civ.
Fresh Baked Kivy
The next day, I was again pleasantly surprised to see a successful installation. I quickly tested the install by opening a python shell:
ct@lab:~/$ python
Python 3.7.0 (default, Apr 24 2020, 05:27:58)
[GCC 9.3.0] on linux
Type "help", "copyright", "credits" or "license" for more information.
>>> import kivy
[INFO   ] [Logger      ] Record log in /home/ct/.kivy/logs/kivy_20-04-25_20.txt
[INFO   ] [Kivy        ] v1.11.1
[INFO   ] [Kivy        ] Installed at "/home/ct/.local/lib/python3.7/site-packages/kivy/__init__.py"
[INFO   ] [Python      ] v3.7.0 (default, Apr 24 2020, 05:27:58)
[GCC 9.3.0]
[INFO   ] [Python      ] Interpreter at "/usr/bin/python"
>>>
It works! Just a few permissions to check and we’re done. Your user should be in both the input and video groups to properly run a Kivy app. This took some trial and error to get right but here is the gist.
sudo usermod -a -G video $(whoami)
sudo usermod -a -G input $(whoami)
sudo chmod g+rw /dev/vchiq
sudo chgrp video /dev/vchiq
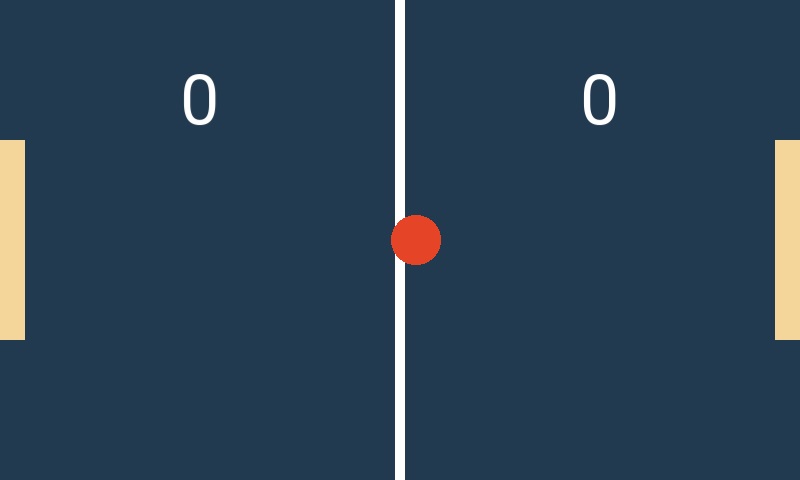
sudo bash -c 'echo 'SUBSYSTEM=="vchiq",GROUP="video",MODE="0660"' > /etc/udev/rules.d/80-vchiq-permissions.rules'With the new permissions in place, reboot or log out and back in so they can take effect. You should now be ready to test one of the demo apps.
ct@lab:~/kivy/examples/tutorials/pong$ python main.py
[INFO   ] [Logger      ] Record log in /home/ct/.kivy/logs/kivy_20-04-25_24.txt
[INFO   ] [Kivy        ] v1.11.1
[INFO   ] [Kivy        ] Installed at "/home/ct/.local/lib/python3.7/site-packages/kivy/__init__.py"
[INFO   ] [Python      ] v3.7.0 (default, Apr 24 2020, 05:27:58)
[GCC 9.3.0]
[INFO   ] [Python      ] Interpreter at "/usr/bin/python"
[INFO   ] [Factory     ] 184 symbols loaded
[INFO   ] [Image       ] Providers: img_tex, img_dds, img_sdl2, img_pil, img_gif (img_ffpyplayer ignored)
[INFO   ] [Window      ] Provider: egl_rpi
[INFO   ] [GL          ] Using the "OpenGL ES 2" graphics system
[INFO   ] [GL          ] Backend used <gl>
[INFO   ] [GL          ] OpenGL version <b'OpenGL ES 2.0'>
[INFO   ] [GL          ] OpenGL vendor <b'Broadcom'>
[INFO   ] [GL          ] OpenGL renderer <b'VideoCore IV HW'>
[INFO   ] [GL          ] OpenGL parsed version: 2, 0
[INFO   ] [GL          ] Shading version <b'OpenGL ES GLSL ES 1.00'>
[INFO   ] [GL          ] Texture max size <2048>
[INFO   ] [GL          ] Texture max units <8>
[INFO   ] [Window      ] virtual keyboard not allowed, single mode, not docked
[INFO   ] [Text        ] Provider: sdl2
[INFO   ] [ProbeSysfs  ] device match: /dev/input/event0
[INFO   ] [HIDInput    ] Read event from </dev/input/event0>
[INFO   ] [Base        ] Start application main loop
[INFO   ] [GL          ] NPOT texture support is available
[INFO   ] [HIDMotionEvent] using <FT5406 memory based driver>
[INFO   ] [HIDMotionEvent] <FT5406 memory based driver> range ABS X position is 0 - 800
[INFO   ] [HIDMotionEvent] <FT5406 memory based driver> range ABS Y position is 0 - 480
[INFO   ] [HIDMotionEvent] <FT5406 memory based driver> range position X is 0 - 800
[INFO   ] [HIDMotionEvent] <FT5406 memory based driver> range position Y is 0 - 480
Final Result